Indoor Composting
Perhaps you don’t have the room or inclination to make a full-sized outdoor compost pile.
Fortunately, even a small amount of compost can be highly beneficial.
This article outlines two methods of composting your food scraps that can be done right in your house.
 Bokashi made from bran sprinkled on food scraps.
Bokashi
Bokashi is a fermented material, often rice bran or wheat bran although it can be made with many other kinds of waste materials such as sawdust, grain mash from breweries, and other grain scraps.
Bokashi is fermented by mixing it with the liquid microbial inoculant called Effective Microorganisms (EM). It’s done today because it makes some of the most incredibly beneficial organic matter possible for the garden, but traditionally, it was also a method of making use of waste products.
It has many of the same benefits as compost, but the process is a fermentation, without air, like making wine or pickles.
It’s actually better for the environment than composting because no carbon dioxide, methane, nitrogen compounds or water vapor are volatilized into the air during the process, and some people argue that the finished product is consequently more nutritious.
I’ve made a lot of bokashi with sawdust, just because that’s what I had available.
Bokashi is made by filling a container such as a five-gallon pail approximately 1/2 to 2/3 full with the substrate in order to leave room for stirring. You can optionally add in some rock dust for extra nutrients.
Then you make a mixture of EM, molasses and water, generally at a ratio of 1:1:100, which is 2 teaspoons each of EM and molasses per quart of water. In this liquid, you can optionally mix liquid kelp, fish, and/or sea minerals, again, for nutrition.
 A little EM goes a long way.
This liquid is thoroughly mixed in with the substrate in the pail until it is moist like a wrung-out sponge all the way through, just like your compost pile.
Then press the mixture firmly and cover it with a plastic bag and then a plate, and even a weight (if you have it) to keep the air out.
I do the same thing when I make sauerkraut, another fermented product. The bokashi will now only take up 1/2 of the pail or less. We want this to ferment without air for one or two weeks, therefore no more stirring is done from now on.
Some people let it go for months. It’s better if you can keep it warm somehow, around 100F. Otherwise, it may take a few weeks, which is fine.
When it’s done, it should have a pleasant sweet and sour smell, kind of like pickles. If it smells really bad, something went wrong. Perhaps the moisture level was too high. In this case, throw it on top of the compost pile, clean the bucket, and start again.
Likewise, any smelly molds indicate something went wrong. It’s alright to have some white fungi, but you should not see fuzzy green or gray molds. The white mold you may see on your bokashi is similar to the fuzz growing on these EM balls, which are meant for inoculating waste water.
Once your bokashi is finished, you can put it in the garden or store it in a cool, dark place.
If stored anaerobically under the same conditions as it was made, it will keep many months, and can actually improve with time.
When stored moist and not anaerobically, it seems to keep for about two to three weeks, and longer at cooler temperatures. If dried and then stored, it will keep for at least two months.
The bokashi can then be used as an incredible way to inoculate your soil with these beneficial microbes.
The 2.5 gallons of final product left in that pail will inoculate 500 square feet of garden. It can be put on top of the soil or dug in. It can also be dried to increase storage time by spreading it out on a tarp in the sun for a few hours.
While bokashi is traditionally a good way to make use of waste materials, it is now often dried and used in the kitchen to help pickle fruit and vegetable waste.
 You can also use bokashi to ferment coffee grounds, or stuff like meat and pet waste that’s questionable for your compost.
Every time you put the waste into a waste bucket, a small handful of dried bokashi is sprinkled on top. Odors are controlled extremely well.
You can buy buckets that allow you to drain the excess water from the waste bucket, but they’re rather pricey, so some people may want to just drill a couple of holes in the bottom of the bucket and let it drain into another container.
When the waste bucket is full, you can bury the waste in the garden or compost. Because it’s infused with these microbes, it will break down extremely fast.
You can even put meat and dairy in the bucket, which some people don’t like to put in their compost. If made with bran, bokashi can also be fed to livestock at a rate of 3-5% of their food.
Worm Composting
Compost made by worms is called vermicompost.
The finished product consists of their manure (castings) and some decayed organic matter. I’ve been making it for a few years, or I should say the red wiggler worms in my bin have been making it — I’ve just supplied some food, water and bedding.
Of course, billions of microbes and hundreds of other small insects help them out. Vermicompost is a nice way to recycle your food scraps into beautiful compost. The worms dine on the food scraps largely to get the microbes covering the surface.
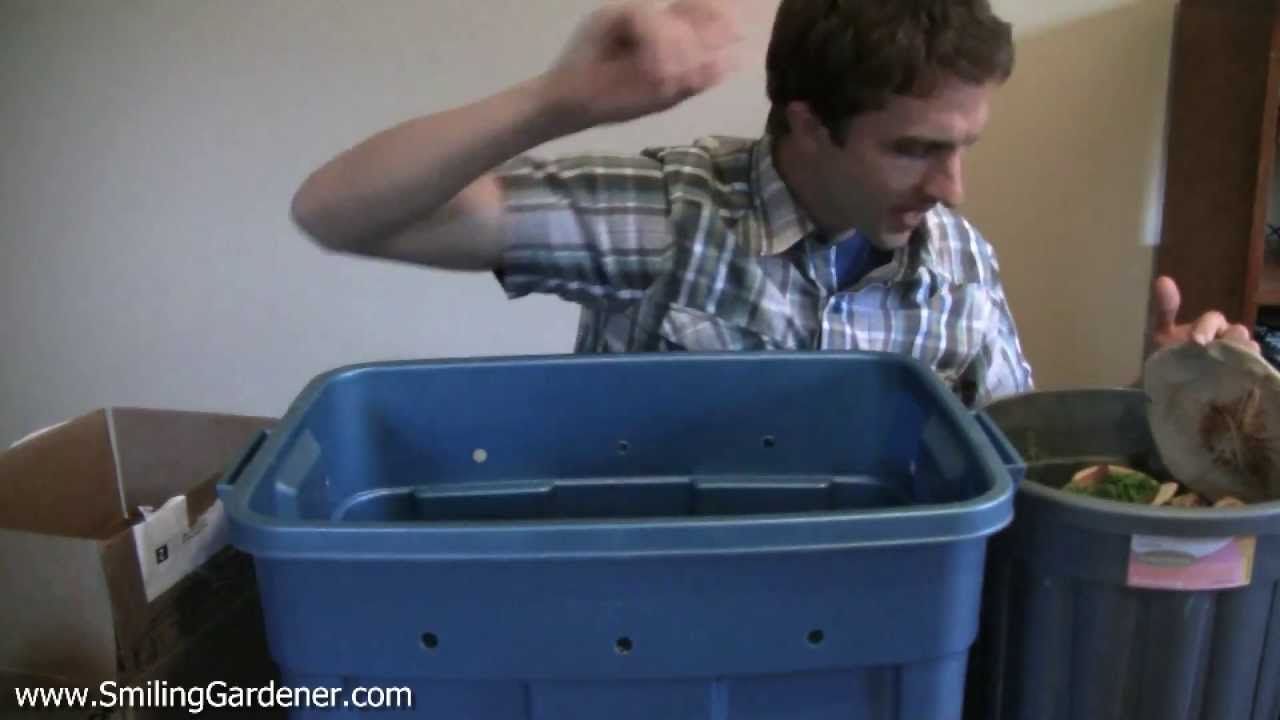
Unlike outdoor composting, this method definitely needs a bin to house the worms.
I use a plastic storage container that’s approximately 18 inches wide, 24 inches long, and 12 inches high, with a lid. This size easily allows for the four to five pounds of food scraps I need composted each week, perfect for two people. A wood box would be nice, too.
To make your bin, drill 12 holes approximately 1/2 inch in diameter in the bottom and at least as many holes towards the top of the sides. Some people also like to drill holes in the lid.
The holes allow for air and water vapor exchange, with the bottom holes also facilitating drainage. You’ll need something underneath the bin to catch the water that drains out. Another upside-down lid is often the perfect size for this.
I don’t need to go into much detail here on the materials because they’re basically the same as a regular compost pile. I don’t use meat, dairy or oil, and the worms also don’t like too much citrus or salty food.
Since your food scraps are your nitrogen materials, you’ll need to supply some other forms of carbon materials as bedding. I use a mixture of shredded newspaper, leaves and straw.
A handful of sand (or soil containing sand) is also needed for the worms to be able to digest food properly.
 Worms have a gizzard, like chickens, and the grit helps them break down food particles.
Most resources recommend adding lime to increase the pH. We’ve learned how that is incorrect reasoning, but I do believe 1/3 cup of calcitic lime per cubic foot of compost will probably be helpful for the calcium, just as it is in an outdoor compost pile.
Just like a compost pile, your bin needs to have proper air, moisture, temperature and carbon to nitrogen ratio.
The holes bring in air. You may want to raise the bin slightly off the ground to increase airflow through those bottom holes. While shredding the bedding materials is nice for the worms, leaving some of them more coarse will help avoid compressed, anaerobic conditions.
The bedding should be wetter than a compost pile — at about 70-90% moisture. Basically, you want it very moist, but not waterlogged because the worms still need oxygen. It takes about three times as much water as bedding to get it moist enough.
The temperature should be between 60F and 80F, out of direct sunlight. Just like an outdoor compost, if the bin is smelly or attracting fruit flies, it’s time to add some carbon and perhaps stop adding food scraps for a while.
When the bedding mixture is thoroughly moistened, you can add your red wiggler worms, Eisenia fetida. These are small worms that excel at living in this kind of environment.
 Red wigglers (aka red wrigglers) aren’t really earthworms at all; they’re compost worms. If you release them into your garden, they’ll disappear, but if you build a nice compost pile outdoors, they’ll usually show up from somewhere.
The red earthworm, Lumbricus rubellus, will also work, but they’re not ideal and are now causing problems in North American forests. Other earthworms won’t work.
I start with the most common recommendation of one cubic foot of bedding and one pound of worms. I have even used half a pound when worms were expensive.
After the worms have settled in for a couple of days, you can begin to add food scraps.
Do this once or twice a week, burying them in a different spot in the bedding each time. I gave them 1.5 pounds of food scraps per week in the beginning. When the worm and microbe populations have multiplied, I give them four to five pounds per week.
I like to work my way across the bedding every couple of weeks burying the food, and then when I start back at the beginning, the original food scraps are mostly decayed. Every month or so, I’ll add more bedding to get some more carbon back in there.
After three to six months, you’ll want to stop adding food scraps for a couple of weeks to let the worms really break down what’s already there. Then, to use the finished compost, you need to separate it from the worms.
There are several methods of harvesting the worms, two of which I’ve used. The first is to move everything into one half of the bin and start new bedding and food scraps in the other half of the bin.
After two to four weeks, most of the worms will have migrated to the new side of the bin to get at the new food. You can then harvest the finished compost from the other half and use it in houseplants and the garden the same as you would use other compost.
The second method of harvesting is to empty the entire contents of the bin onto a tarp or garbage bag under a bright light. Worms don’t like light, so they’ll try to stay buried at the bottom of the pile.
You can separate the compost into several small piles and harvest most of it from the top of these piles, occasionally waiting a few minutes while the worms delve deeper into the pile.
In the end, you’ll be left with mostly just the worms, which you can return to new bedding in the bin. Make sure to do this quickly because they’ll die if left in the light for long. Wear moist gloves because the oils on your hands can hurt them. Their eggs will be killed in this process.
 You can buy worm castings at the garden center in some places, but they’re mighty expensive.
Once in a while, a worm will exit the bin. You don’t have to worry about it setting up residence in your home because it will generally die from dehydration and exposure to light right beside the bin.
If many worms are exiting the bin, something is wrong.
It may be too moist or not moist enough, or there may not be enough air. It may be that the compost is done. The worm castings are slightly toxic to them, so they don’t want to stay around long when the food has run out and it’s mostly just castings left.
In rare cases, you may find the worms aren’t eating the food or are rolling up together in a ball. It usually comes back to a problem with the oxygen, moisture, temperature, or carbon to nitrogen ratio.
Feel free to experiment with bokashi or worm composting, or both.
I do both because I enjoy the process and know the resulting composts will be very different in terms of their microbial makeup, but I would say bokashi is easier to start with.
Summary
- Bokashi and worm composting are methods that can be used indoors to make a small batch of quality compost for use in the garden.
- Bokashi is EM-infused organic matter that is applied to the soil or mixed with food scraps to help break them down and control odors.
- A vermicompost bin is used to break down food scraps and bedding into a very nice finished compost.